Difference between revisions of "Plate/Sheet Metal to Assembly Transfer"
| Line 1: | Line 1: | ||
| − | |||
| − | |||
'''This tutorial is designed to walk you through the steps in creating a part using the sheet metal module and transferring it to the Assembly interface.''' | '''This tutorial is designed to walk you through the steps in creating a part using the sheet metal module and transferring it to the Assembly interface.''' | ||
__NOTOC__ | __NOTOC__ | ||
| Line 162: | Line 160: | ||
[[File:transfer_part_dropdown1.png|right]] | [[File:transfer_part_dropdown1.png|right]] | ||
| − | 1. Select the "'''Transfer Drop Down Menu'''" [[File:Transfer.png]] on the | + | 1. Select the "'''Transfer Drop Down Menu'''" [[File:Transfer.png]] on the '''Icon Menu''' at the top of the screen. |
2. From there, select the "'''New Assembly'''" option. | 2. From there, select the "'''New Assembly'''" option. | ||
| Line 176: | Line 174: | ||
6. Now, select the "'''OK'''" [[File:OK99.png]] button to bring the part into Assembly. | 6. Now, select the "'''OK'''" [[File:OK99.png]] button to bring the part into Assembly. | ||
| − | 7. When the "'''Name Part'''" window opens, simply select the "'''OK'''" [[File:OK99.png]] button to continue. [[File:Name_part_window1.png]] | + | 7. When the "'''Name Part'''" window opens, simply select the "'''OK'''" [[File:OK99.png]] button to continue. [[File:Name_part_window1.png|right]] |
8. Click on the Tri-star to place the point there. | 8. Click on the Tri-star to place the point there. | ||
Revision as of 11:03, 21 January 2015
This tutorial is designed to walk you through the steps in creating a part using the sheet metal module and transferring it to the Assembly interface.
Plate/Sheet Metal Design
- This tutorial will begin by showing how to create a specified piece of sheet metal designed with "PickPoints".
If you're not familiar with this interface, it is suggested that you visit the Sheet Metal Module page for better understanding of the basics.
Things To Know
- This tutorial is designed to walk the user through creating a sheet metal/plate design and transferring it to Assembly. As you go through this tutorial, later procedures will assume that you understand all earlier procedures. Because of this, it is very important that you carefully step through this guide, understanding everything along the way and following all steps in order.
- A few key items need to be addressed before starting the step-by-step instructions of this tutorial. It is very important for Bend-Tech users to completely understand these items:
- 1) PickPoints
- PICKPOINTS ARE USED FOR EVERYTHING. The Sheet Metal part of the software is largely run in full 3D. Because a computer screen is only 2D, there is an unlimited amount of depth behind and in front of the cursor. A PickPoint is a point in 3D space that can be used for creating, editing, and placing parts in handrail design. PickPoints can be placed in a 2D environment by having their depth manually entered in the appropriate value fields.
- There are 2 types of PickPoints; Those automatically created by the part by default (various colors) and user-defined points (green). In addition, the initial (0,0,0) point is an automatic point that resides at the center of the Tri-Star. The Tri-Star is our directional definition locator.
- 2) Center Line & Apex
-
- Center Line: In the Sheet Metal design environment we are working primarily with the "center-line" of a part, as compared to the inside or outside.
- Apex: Most bend locations are created in Sheet Metal design with the "Apex". Our definition of apex is the intersection of the straight tubes as if there wasn’t a radius.
- This is demonstrated in the picture below.
- 3) Locational Orientation
-
- Designing seems to work the best if users imagine as if they are standing at a 45 degree angle to the desired creation. This way left is left and right is right. Take a minute and examine the Tri-Star (under the PickPoints] tab) to get your orientation.
Start Up
1) Start by double clicking the "Bend-Tech 7x" icon to start up the program.![]()
2) Select the "Plate" icon ![]() in the Task Menu under the "Create New" section to open the Sheet Metal/Plate interface, Or... select the Plate button on the main toolbar, OR... select "File → New → Plate".
The window that opens should be labeled [Plate - 1].
in the Task Menu under the "Create New" section to open the Sheet Metal/Plate interface, Or... select the Plate button on the main toolbar, OR... select "File → New → Plate".
The window that opens should be labeled [Plate - 1].
3) For the purposes of this tutorial, click the "Maximize" button ![]() at the top right of the plate design window.
at the top right of the plate design window.
4) Also, for the purposes of this tutorial, zoom out significantly by spinning the wheel on your mouse so that the Tri-star is about the size of a pea in the lower left corner of the display area.
The Assembly Interface
- The Assembly Interface is designed to allow you to assemble multiple parts together. Parts can also be made in the assembly, however it is usually quicker and more accurate (although not necessarily easier) to use one of the part interfaces to create parts.
Free Select
- Free Select can be used to allow the user to click anywhere on the screen as if there was a point. Whenever Free Select is on, the display window is dimmed slightly. It is very difficult to place points with precision using Free Select mode, so make sure you take it off whenever you are trying to do something where precision matters.
CAD vs Sheet Metal
- The Part Interface is basically divided into 2 areas, a simple CAD interface and sheet metal functions. The CAD functions allow you to create a part using points, lines, arcs, and other features for the part, much like other CAD software. These functions include trimming/extending lines, using tangent and intersection points, and placing dimensions. The sheet metal portion of the software allows you to convert features into a flange and add flanges together with bends.
Bending Radius
- When creating a bent part and setting up a material in the Plate Material Library, it is important to understand that the bending radius is the INSIDE radius of the bend. While some areas of the software may use the centerline dimensions, the bending radius of each bend on a sheet metal part is referring to the Inside Radius.
Creating the Flange
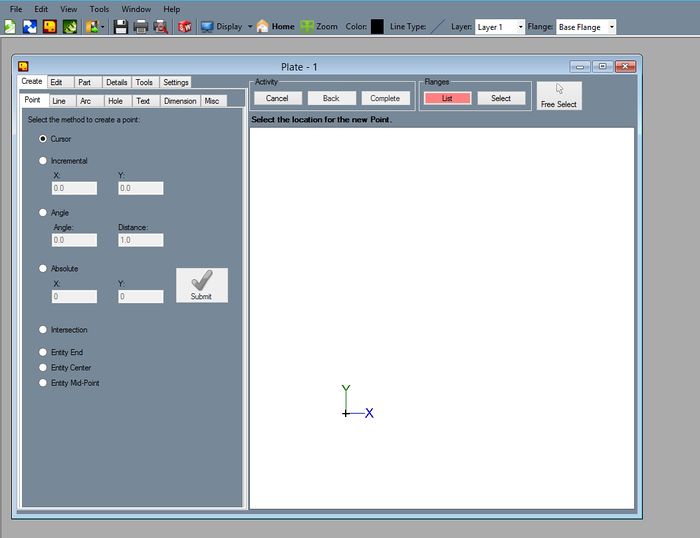
1. To begin, the new plate interface will be displayed and can be broken down into two parts: The left side contains the features and value inputs, while the right side is where we see and select the features of the part. The large window on the right side of the screen is referred to as the Display Area in this tutorial as in most others.
2. The first step to most any part is to create some points defining the part’s base flange. All features of a part can be created under the "Create" tab.
3. Select the "Create" tab.
4. The "Point" sub-tab will be displayed, showing the different methods you can use to create a point.
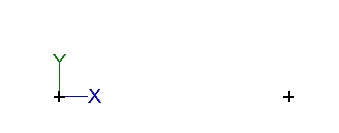
5. Notice that the part already has a point created at the (0, 0) coordinate. This point is the first point in our part. As seen below, our first part is 8 inches wide, so start by creating the base flange that wide.
6. Select the "Incremental" point option.
7. Type a value of "8" in the "X" value field as shown here.
8. As you move the cursor over the part, you will notice a point "8" inches to the right.
9. Now, select the base point to create the new point with the offset.
10. Select the base point (origin) of the part and the software will create the new point 8 inches in the X-direction.
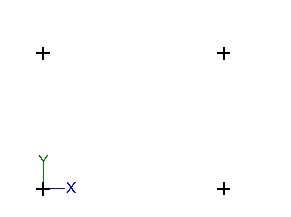
11. Next, we will create a point "6" inches above this new point.
12. Type "0" in the "X" field and "6" in the "Y" field. This will create a point 6 inches above our cursor.
13. Select the point created in the last step to create the third point of the flange.
14. The next point we create will be 6 inches above the base (origin) point. We already have this offset in the fields so we can simply select the origin point to create the fourth point.
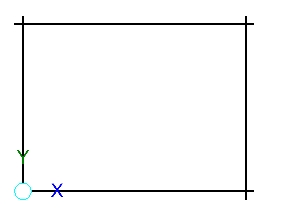
15. The four points now define the outer edge of our base flange. Connect these points with four lines.
16. Select the "Create" tab (if it is not already selected).
17. Select the "Line" tab.
18. Select the "2 Points" option.
19. Click the "Continuous" checkbox next to the "Two Points" option.
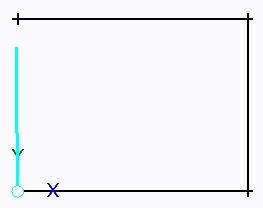
20. Select the upper-left point for the first point of the line. Select the upper right point as the second point of the line.
You will now have a line created, connecting the 2 points you selected.
21. Click the bottom right point in the display area, then the bottom left point and finally the top left point making a rectangle like in the picture below.
The base part is complete.
Defining the Flange
- Now that we've completed our 8 inch by 6 inch base flange, we must define the flange.
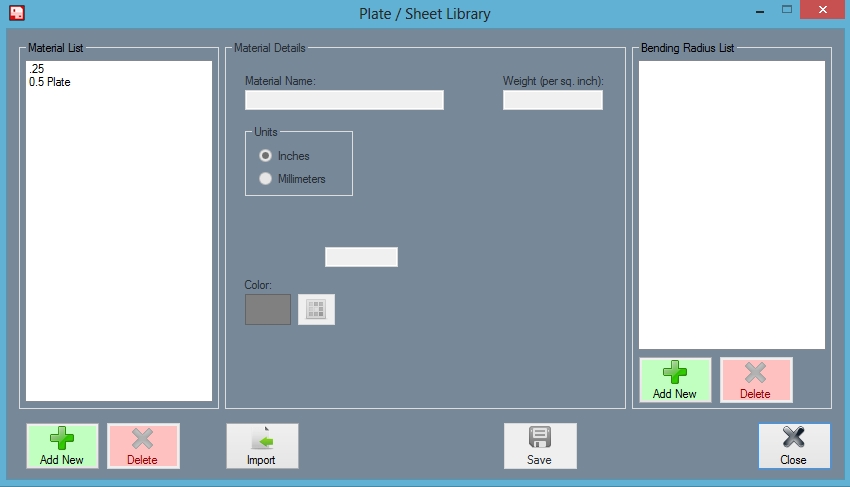
1. Select the "Part" tab. In the "Definition" sub-tab, click the "Library" button. The Plate / Sheet Library will open.
2. There are two Add New buttons. Click the left one and type “.25 Inch” in the Material Name field.
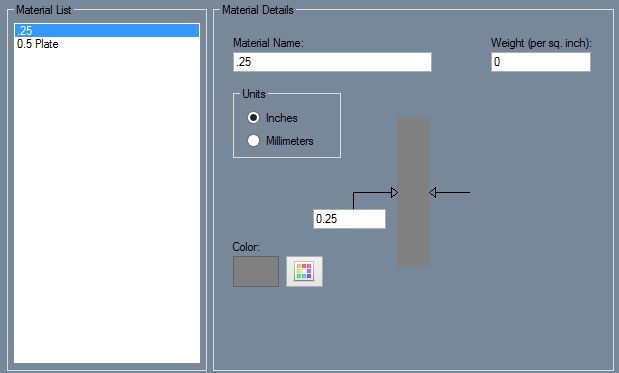
3. Type ".25" in the thickness field (the field with the arrow pointing towards it in the picture below). Make sure Inches is selected in the Units area and click the Apply button.
- (Note) Make sure to "Save" this to the "Material List" in order to perform the next steps.
4. Click on ".25 Inch" in the Material List. Click the right "Add New" button.
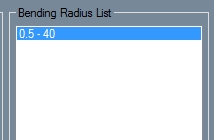
5. Type ".5" in the "Inside Bending Radius" value field and click the "OK" button.
6. Type "40" for the K-Factor and click the "OK" button. Click the Apply button, then the Close button to close the Plate / Sheet library.
7. Go to the "Part" tab.
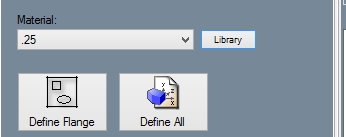
8. Select ".25 Inch" in the "Material" drop down menu. Click the "Define Flange" button.
9. Click anywhere inside the box that you made in the display area. You should see the "Flanges List" button turn green, indicating that a flange has been defined successfully.
- For the next steps, the display mode was changed to "3D Shaded" for effect. This is not a necessary step.
Transferring the Part
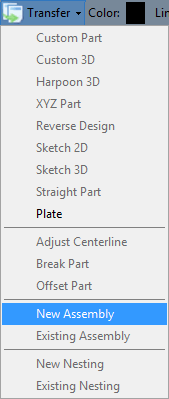
1. Select the "Transfer Drop Down Menu" ![]() on the Icon Menu at the top of the screen.
on the Icon Menu at the top of the screen.
2. From there, select the "New Assembly" option.
3. A window will open labeled "Prepare for Assembly".
4. Select the "Axis"  button and click on the "Red" axis in the display area.
5. Then, select the "Rotation"  button 3 times to rotate the part into place as seen in the picture below.
6. Now, select the "OK"  button to bring the part into Assembly.
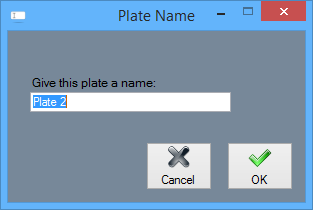
 button to continue.
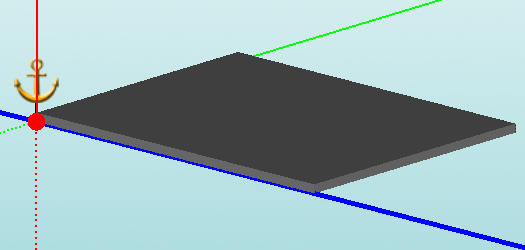
8. Click on the Tri-star to place the point there.
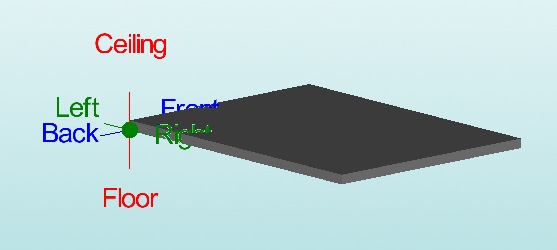
The transfer is now complete.


