Difference between revisions of "Create a Bent Part"
| Line 30: | Line 30: | ||
Step 6) Select the "PickPoint" for the end of the part. | Step 6) Select the "PickPoint" for the end of the part. | ||
| − | [[file:Bent3.jpg]] | + | [[file:Bent3.jpg|500px|]] |
Revision as of 10:19, 5 June 2014
This thread will show how to create a "Bend Part" (a part with bends) in the assembly interface.
Please review the following thread: http://www.2020softwaresolutions.com...hread.php?t=60
&
The rules for Custom 3D are also important to understand: http://www.2020softwaresolutions.com...hread.php?t=48
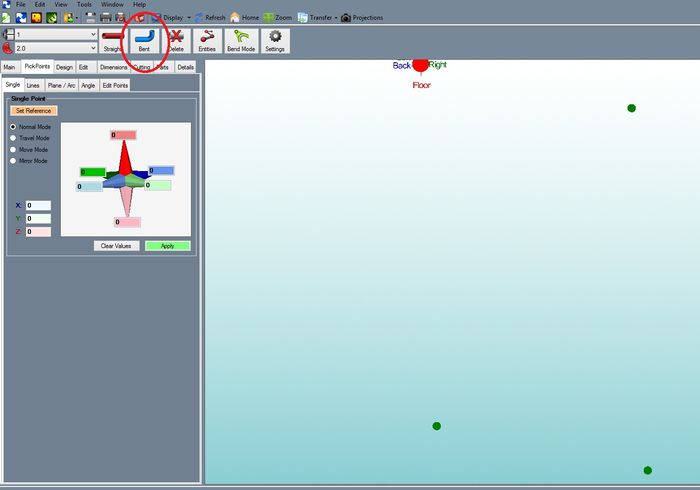
Step 1) Select the command button "Bent Part"
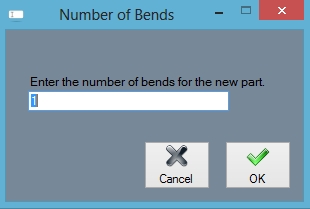
Step 2) Enter the number of bends and "OK" to continue.
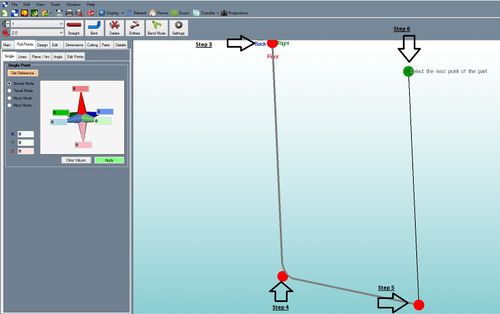
Step 3) Select the first "PickPoint" of the part. This is one end of the part. The part creation is now tied to the cursor.
Step 4) Select the "PickPoint" for the apex of 1st bend.
Step 5) Select the "PickPoint"s for any additional bends in the part. Pick these in order.
Step 6) Select the "PickPoint" for the end of the part.
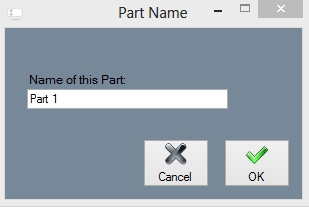
Step 7) Enter in a "Part Name". Select "OK" to continue
Notice how Bend-Tech will update the part with the material and tooling that is selected. The PickPoints for the part features are automatically generated.


