Difference between revisions of "Deleting or Removing a Part"
| Line 11: | Line 11: | ||
Select the "Remove" command button: | Select the "Remove" command button: | ||
| − | RemovePart1. | + | [[File:RemovePart1.jpg]] |
Select a PickPoint(s) on the part(s) you wish to remove: | Select a PickPoint(s) on the part(s) you wish to remove: | ||
| − | RemovePart2. | + | [[File:RemovePart2.jpg]] |
Click the '''"Remove Selected"''' button to remove the part(s). | Click the '''"Remove Selected"''' button to remove the part(s). | ||
| − | RemovePart3. | + | [[File:RemovePart3.jpg]] |
Revision as of 14:10, 9 June 2014
This section will show how to remove or delete a part in the assembly.
There are 2 different types of removing or deleting:
First Type
Removing a Part from our Assembly
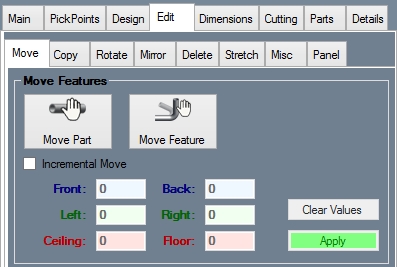
Select the "Remove" command button:
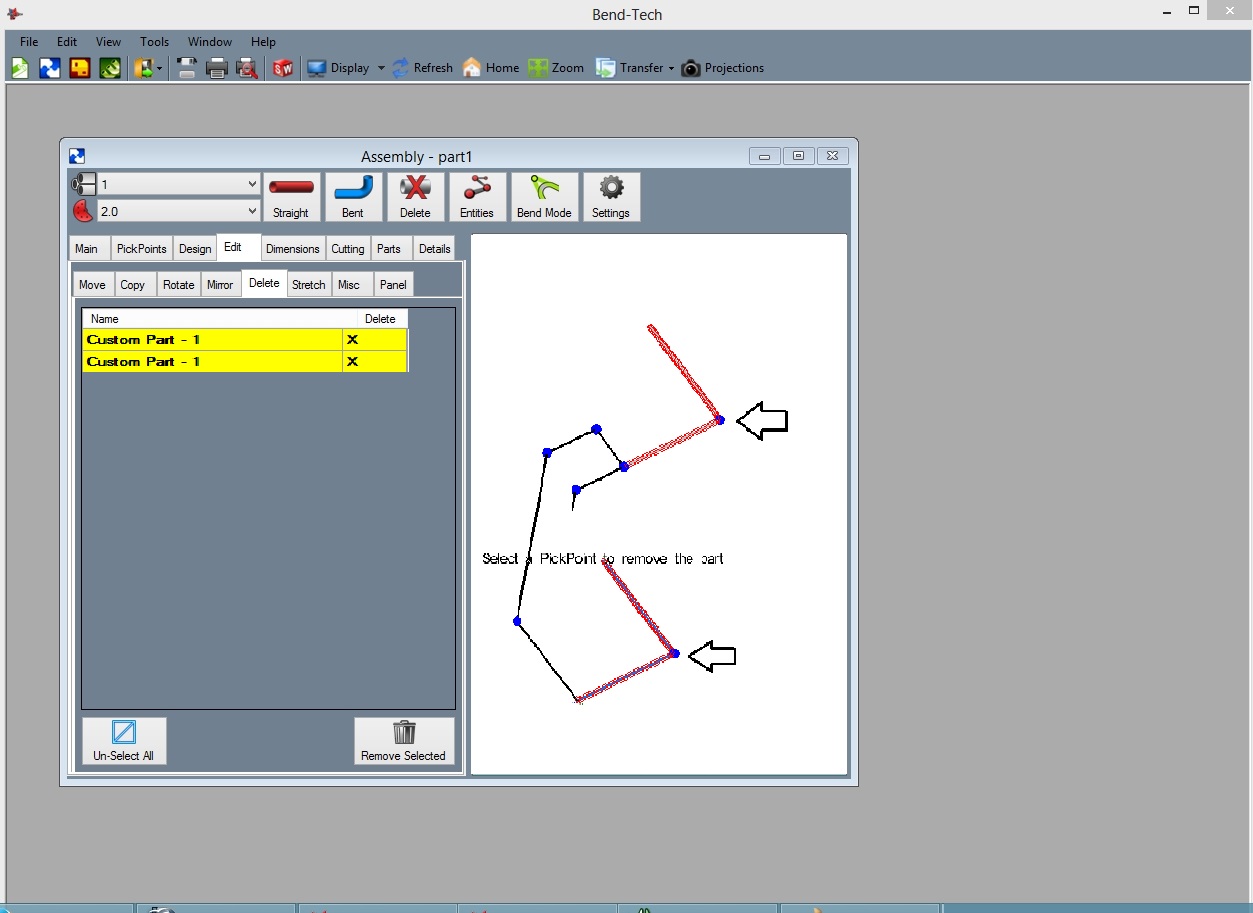
Select a PickPoint(s) on the part(s) you wish to remove:
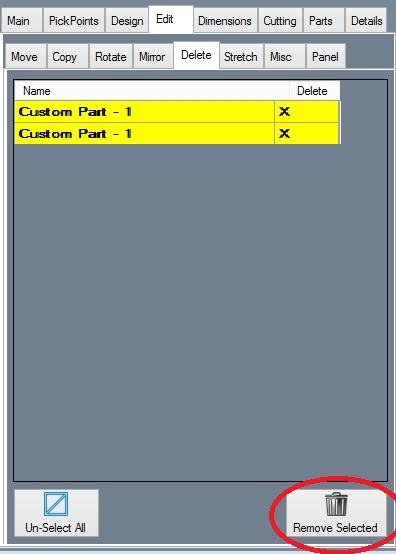
Click the "Remove Selected" button to remove the part(s).
Second Type
Remove a Part from the Master Part List
When you remove part from the assembly a "master" part will still be available for later use. If you desire to remove the part from the "master" list, select the part in the list as shown below and select the "Remove" button.
RemovePart4.png
You can also select the "Flush" button to remove all of the parts from the master list with a quantity of 0 (not in your assembly drawing.
RemovePart5.png


