Difference between revisions of "Dragon A400 Side Offsets Calibration"
| Line 17: | Line 17: | ||
| − | '''3.''' The | + | '''3.''' The first screen is available to '''Disable''' any previously entered material side offsets (as an option) before continuing with the calibration. click '''Next''' to start the calibration process. |
[[File:Side_Offsets_Calib4.png]] | [[File:Side_Offsets_Calib4.png]] | ||
| + | |||
| + | |||
| + | '''4.''' The calibration window will appear and instruct you to make sure your machine has been powered '''off''' before continuing. You are free to move the chuck trolley manually to the front most position to accommodate a shorter length of tubing. '''IMPORTANT: Make sure the front gate is positioned to its HOME position before continuing.''' | ||
| + | |||
[[File:Side_Offsets_Calib5.png]] | [[File:Side_Offsets_Calib5.png]] | ||
| + | |||
| + | |||
| + | '''5.''' | ||
| + | |||
[[File:Side_Offsets_Calib6.png]] | [[File:Side_Offsets_Calib6.png]] | ||
Revision as of 09:38, 10 October 2017
Dragon A400 Side Offsets Calibration
This calibration is meant for Dragon A400 users experiencing differences in cutting height due to warped or imperfect square and rectangular tubing.
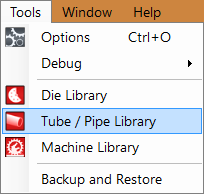
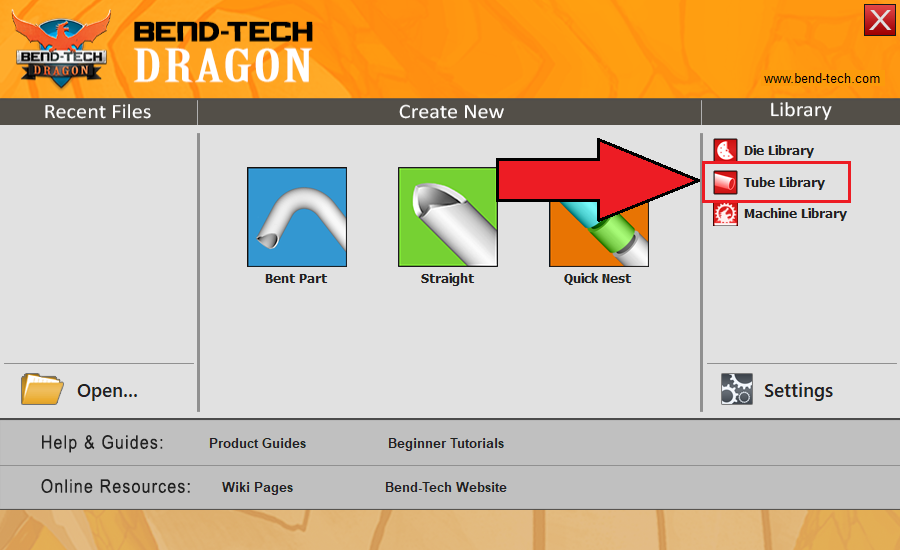
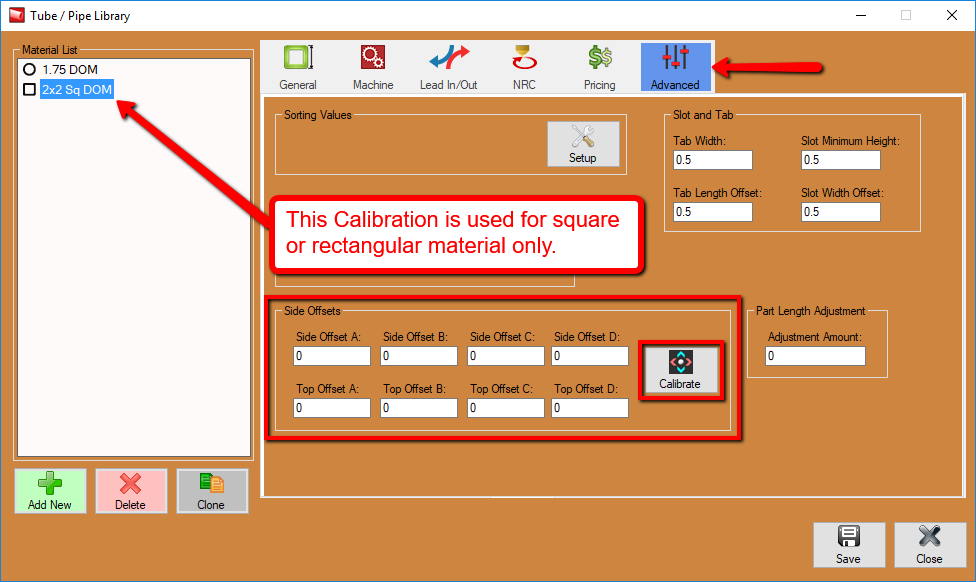
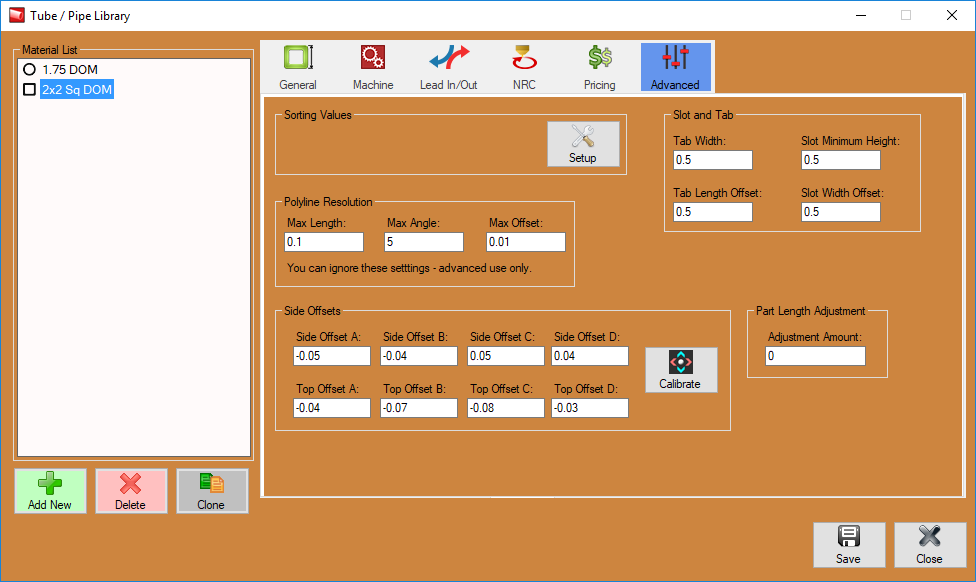
1. If you require a way to calibrate your warped or imperfect tubing, the option is here for you located in the Tube/Pipe Library under the Advanced tab.
2. In the Advanced tab, select the Calibration option under the Side Offsets section at the bottom of the window.
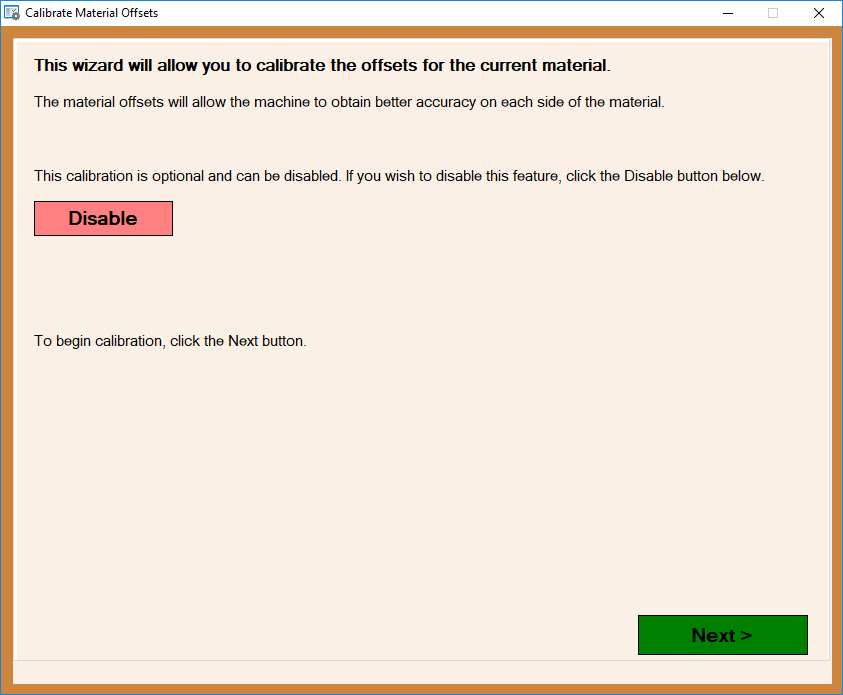
3. The first screen is available to Disable any previously entered material side offsets (as an option) before continuing with the calibration. click Next to start the calibration process.
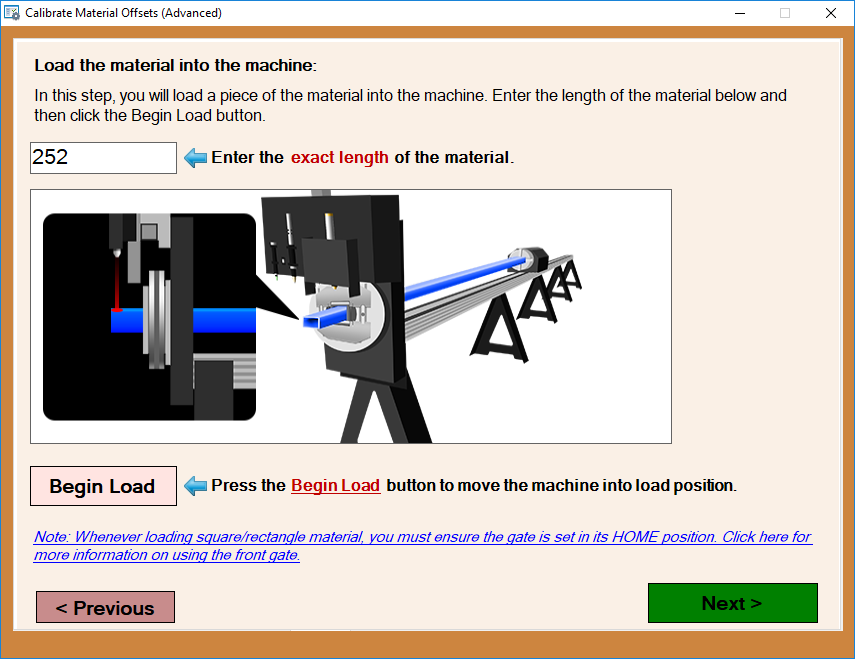
4. The calibration window will appear and instruct you to make sure your machine has been powered off before continuing. You are free to move the chuck trolley manually to the front most position to accommodate a shorter length of tubing. IMPORTANT: Make sure the front gate is positioned to its HOME position before continuing.
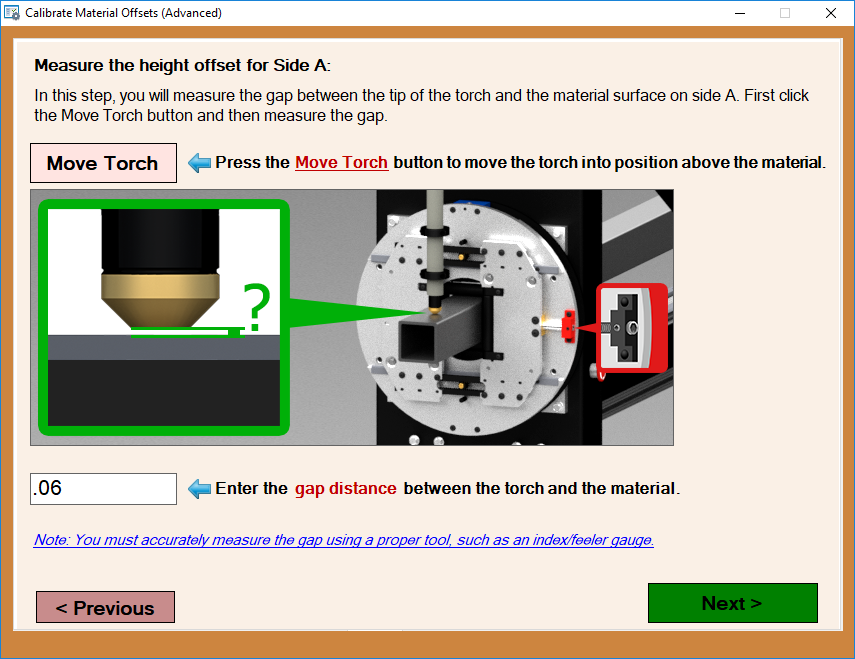
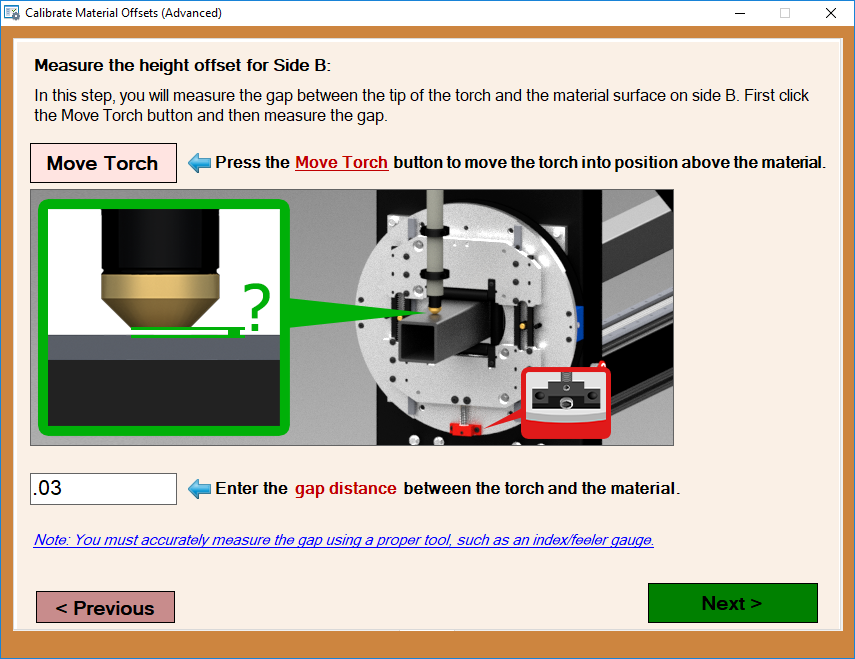
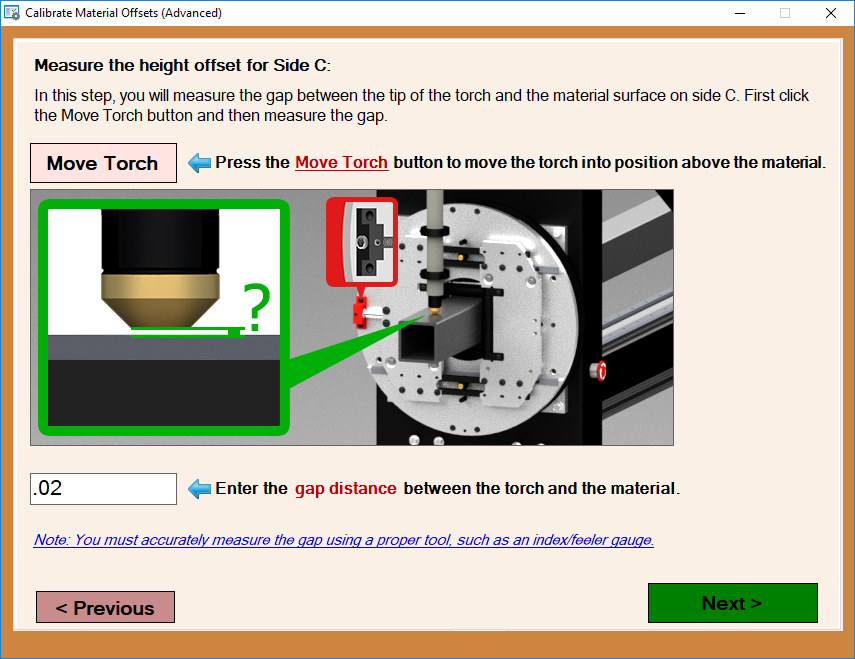
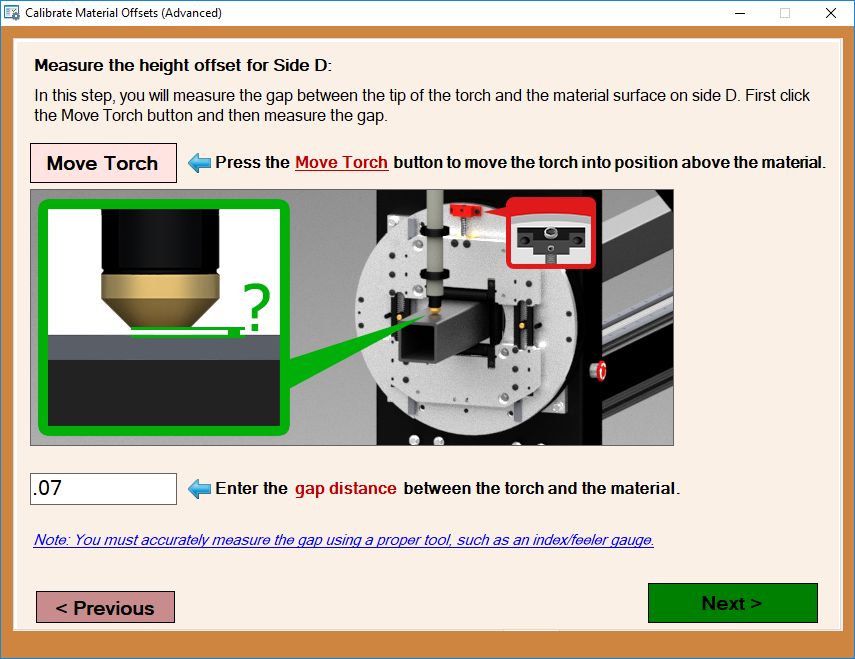
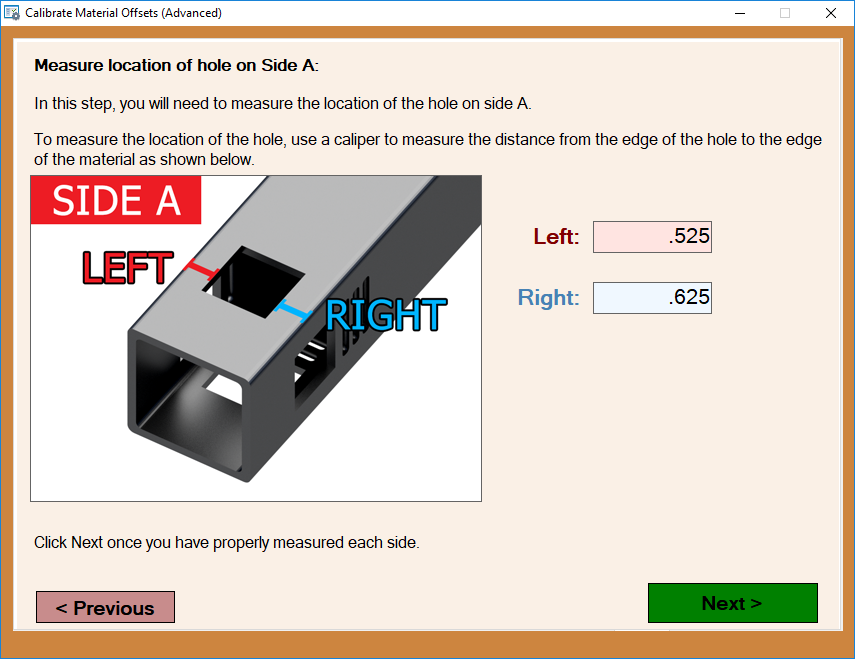
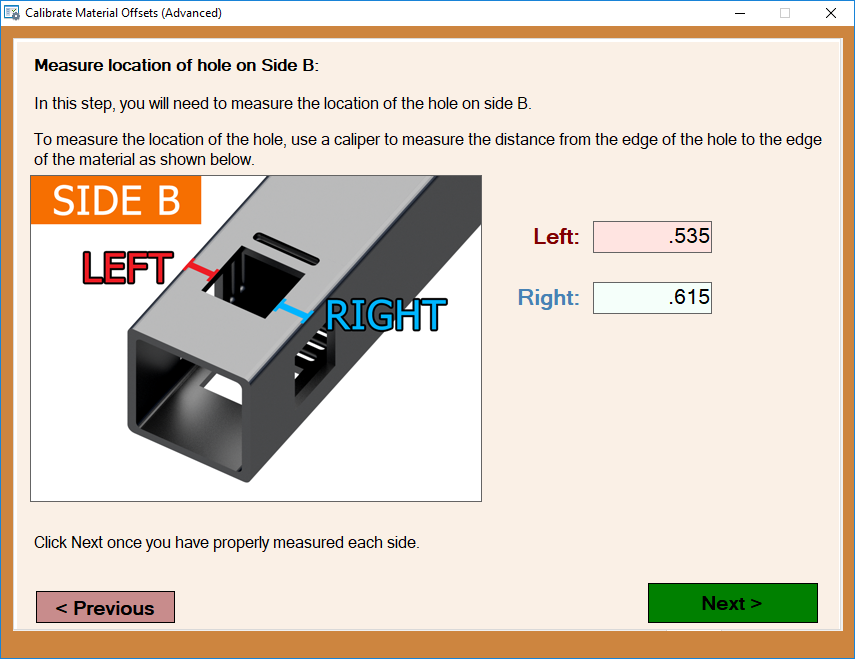
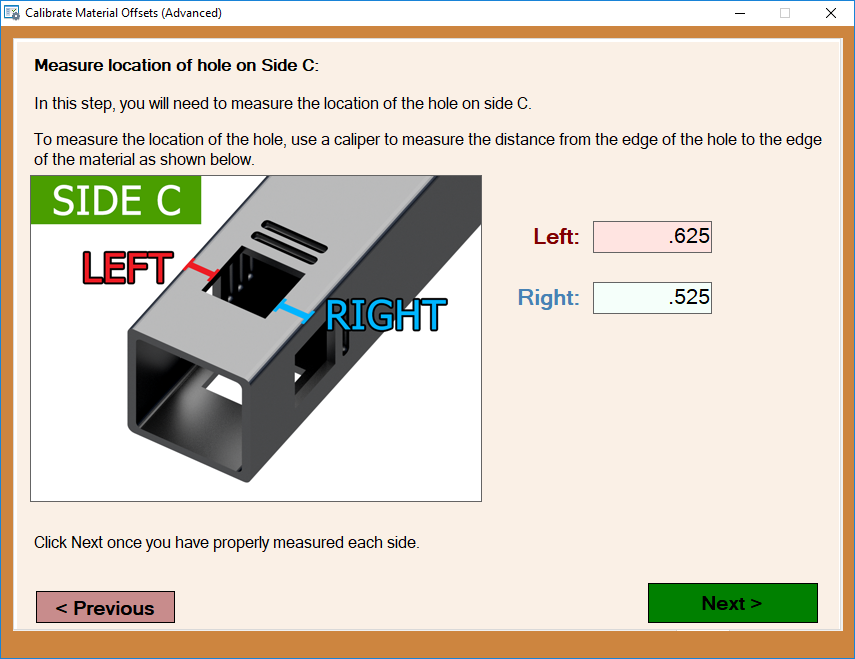
5.
