Difference between revisions of "Dragon Rotation Calibration"
| Line 4: | Line 4: | ||
*In order to start the process of calibrating your rotational settings, begin by selecting your '''"Die Library"''' [[File:Die_Library1.png]] from the Dragon '''"Task Menu Screen"'''. | *In order to start the process of calibrating your rotational settings, begin by selecting your '''"Die Library"''' [[File:Die_Library1.png]] from the Dragon '''"Task Menu Screen"'''. | ||
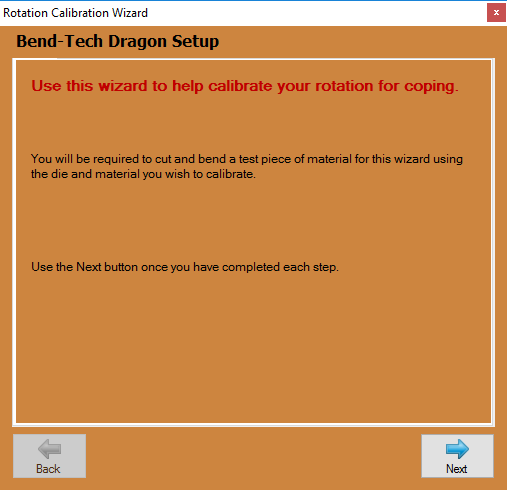
| + | [[File:Drag_Rotation_Calib1.png]] | ||
| − | [[ | + | ==Select Die and Material== |
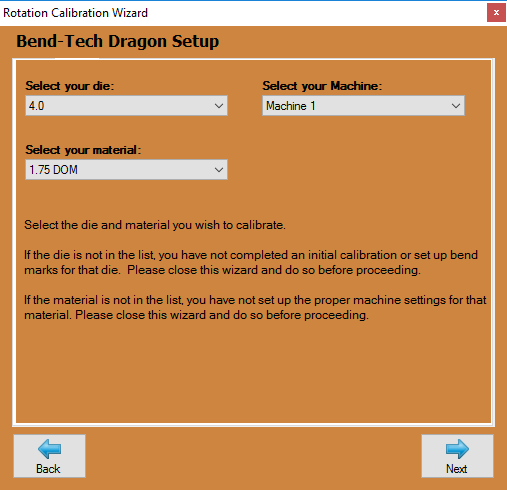
| + | *Now, select the die you're using along with the associated material that will be used in this calibration. If there are no dies or materials available from the lists, you may need to do a die [[Calibration]] and enter your material into the [[Tube/Pipe Library]] before continuing. | ||
[[File:Drag_Rotation_Calib2.png]] | [[File:Drag_Rotation_Calib2.png]] | ||
Revision as of 10:50, 2 May 2016
"This guide will help you understand all of the processes and procedures involved in calibrating your rotational settings within your Dragon Software to create precision rotational bend marks with your machine."
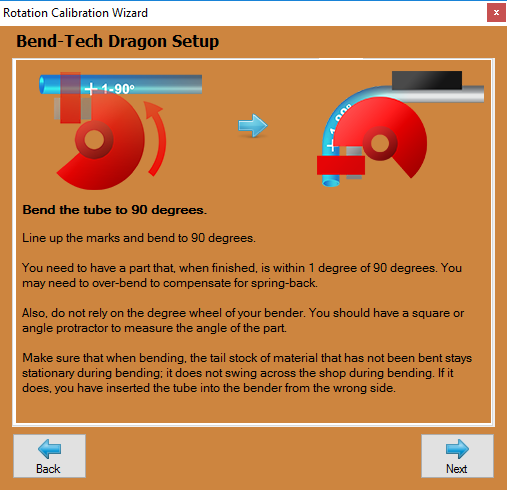
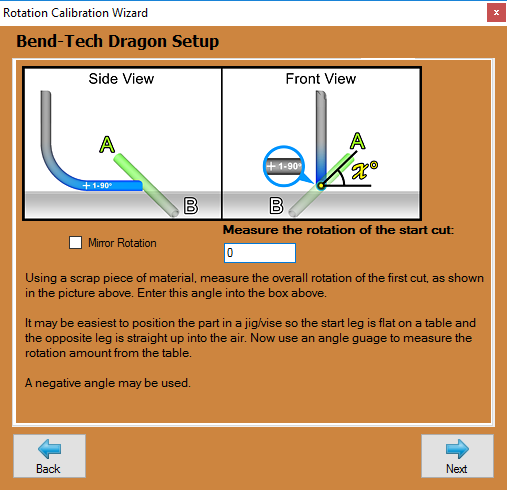
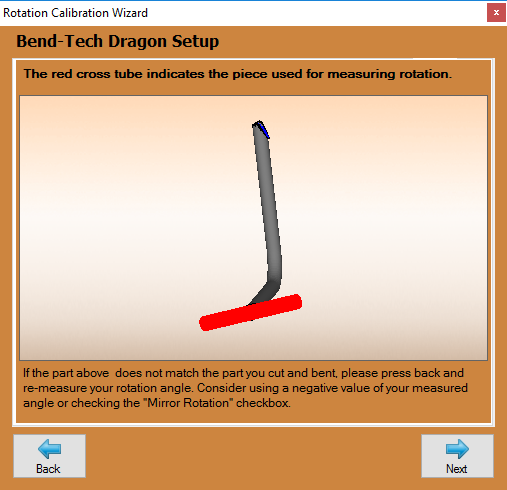
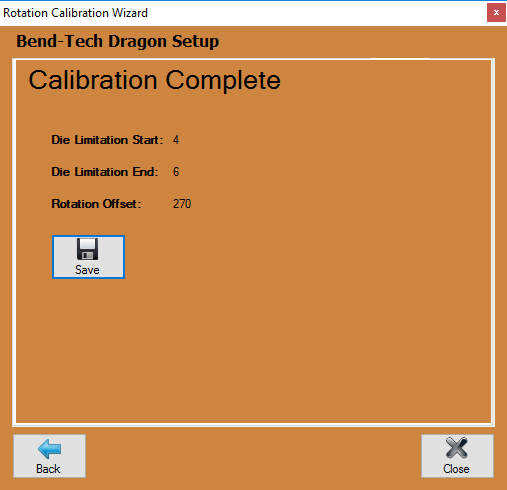
Rotation Calibration Wizard Setup
- In order to start the process of calibrating your rotational settings, begin by selecting your "Die Library"
 from the Dragon "Task Menu Screen".
Select Die and Material
- Now, select the die you're using along with the associated material that will be used in this calibration. If there are no dies or materials available from the lists, you may need to do a die Calibration and enter your material into the Tube/Pipe Library before continuing.
