Sheet Metal Text
"UNDER CONSTRUCTION: THANK YOU FOR YOUR PATIENCE"
Sheet Metal Text
- This tutorial will begin by showing how to create a specified piece of sheet metal with text included.
- "If you're not familiar with this interface, it is suggested that you visit the Sheet Metal Module page for better understanding of the basics."
Start Up
1) Start by double clicking the "Bend-Tech 7x" icon to start up the program.![]()
2) Select the "Plate" icon ![]() in the Task Menu under the "Create New" section to open the Sheet Metal/Plate interface, OR... select the Plate button on the main toolbar, OR... select File → New → Plate.
The window that opens should be labeled [Plate - 1].
in the Task Menu under the "Create New" section to open the Sheet Metal/Plate interface, OR... select the Plate button on the main toolbar, OR... select File → New → Plate.
The window that opens should be labeled [Plate - 1].
3) For the purposes of this tutorial, click the "Maximize" button ![]() at the top right of the plate design window.
at the top right of the plate design window.
4) Also, for the purposes of this tutorial, zoom out significantly by spinning the wheel on your mouse so that the Tri-star is about the size of a pea in the lower left corner of the display area.
Creating a Part
1. Start by selecting the "Incremental" option under the "Create-->Point" tab and entering "12" into the "Y" value field.
2. Now, select the base point to create a point 12 inches upwards of it.
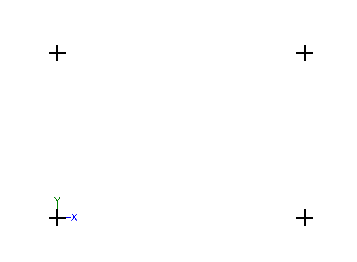
3. Next, delete the "12" and replace it with "0" and enter the number "18" in the "X" value field. Then, click on the base point and the point 12 inches above it as well. This will create the four points of the rectangular base flange we will be working on.
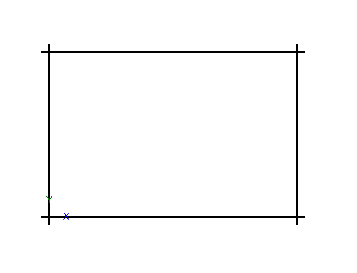
4. Select the "Line" tab and click on the continuous option. Then, select each of the four points in a row to create a rectangle. This is the base flange that we will be working with for the purposes of this tutorial.
5. Lastly, select the "Part-->Definition" tab and select "Material .25" to define the flange.
"(Note) If users have not already created a material in this interface, it is suggested that our they complete the Plate Tutorial first."

