Sketch 3D
Bend-Tech 7x Wiki :: Sketch 3D
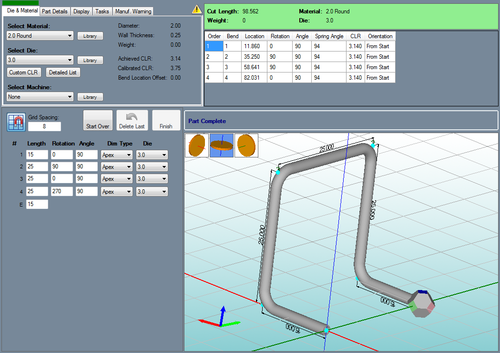
Sketch 3D allows parts to be created on a three dimensional plane. Parts can be designed by clicking directly on the part display and drawing out each length and/or by giving the straight length and angle values in the design panel.
Selection
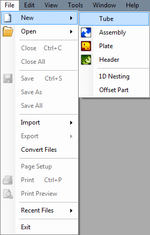
To create a Sketch 3D Part:1.) Go to the File menu, select New, then select Tube. In the Create New menu, click on the Sketch 2D option.
2.) Click the New Part icon and select the Sketch 3D option in theCreate New menu.
...OR
3.) Select the Sketch 3D option from the task menu that appears when the software starts up or when all designs are closed.
Design
Once Sketch 3D is selected, a new part design window will open. If a default die and material have not been set, a die and material must be chosen before designing the part. If necessary, choose a material, die, and/or machine in the Die and Material tab. Once a die and material are selected, the Sketch 3D part design section will appear.
Next, the part can be designed by drawing out the part lengths in the part display and/or typing in length and angle values.
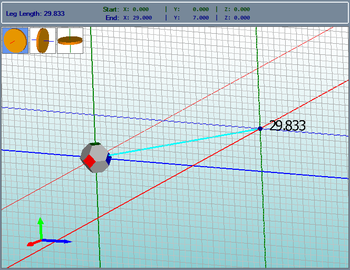
To design a part, start by clicking directly on the part display where the first length of the part will begin. Once this point is clicked, a light blue line will be connected to this point (as shown to the right). The length of the current part section will be generated at the end of this line.
The leg length and XY coordinates of the start and end of the current length will be generated above the part design area.


