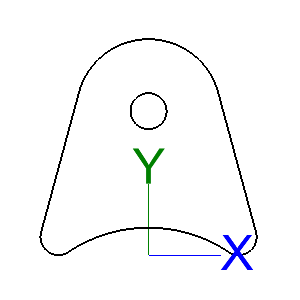
Transferring a SM Part Into a Tube Project
- With a part created in the "Plate/Sheet Metal" designer, select at least "3" Pickpoints before sending it to a tube Assembly.
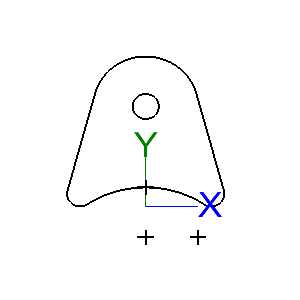
- Under the "Create-->Point" tab, select the "Entity Mid-Point" and place a point at the center of the base point of the part.
- Then, select the "Incremental" option and type in a "-1" into the "Y:" value field and place a point 1 inch below the base point.
- Lastly, Change the "Y:" value back to "0" and type a "1" in the "X:" value field and create a point to the right of the previous one.
(See picture below.)
After the three points have been created (in this case, 1 inch apart from each other) the flange must be defined before sending it to Assembly.
After the part is defined, send it to assembly using the 3 points as reference points under the "Part-->Assembly" tab.
"Refer to the Sheet Metal/Plate to Assembly Transfer tutorial for a better understanding of this procedure."
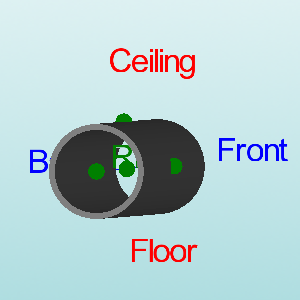
In the Assembly interface, the user must create at least 3 Pickpoints (one inch apart in the same way as seen in the picture above) with one of the points as the centerline of the tube and the other two surrounding it as seen below.


