Seat Manager
This page shows the steps in removing an old or outdated seat of your Bend-Tech software in order to add a new seat. This will only happen when you have reached your maximum number of seats. There are a few reasons why you would reach your maximum...
1. You have recently upgraded your computer to Windows 10 and have received a new Windows ID. This will cause our database to recognize an additional install even though you have already installed Bend-Tech on this computer.
2. You have already installed and registered the software on multiple computers. Depending on your product and number of seats purchased, you may still exceed that number and will have to remove an old seat (or purchase another if you wish).
3. You have changed the name of your computer. In this case, our database will assume that you have installed the software on an additional computer and you may exceed your maximum number of seats.
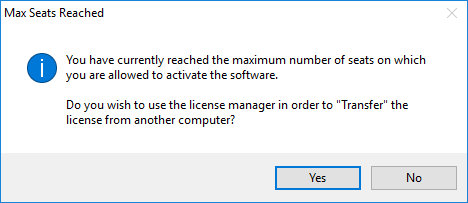
Max Seats Reached
- Upon registering a new seat, a window will appear that will prompt you to click YES if you'd like to run the license manager and remove an old seat.
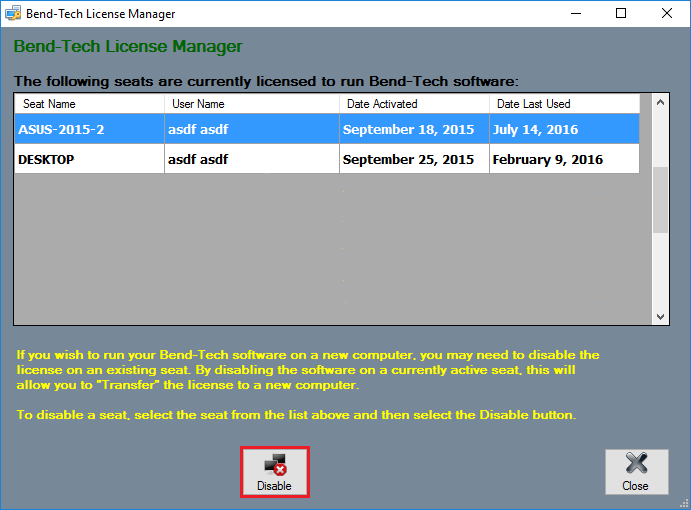
License Manager
- When the license manager window appears, you will be prompted to choose a seat from the list that will be shut down in order to free up a seat for the new install.
- Select the seat that you'd like removed and click the DISABLE button below.
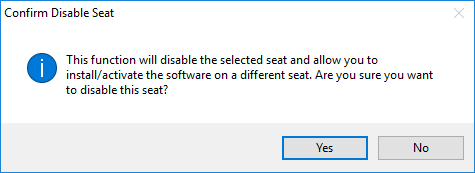
Confirm Disable Seat?
- Only click the YES button if you are sure you'd like to disable the selected seat!
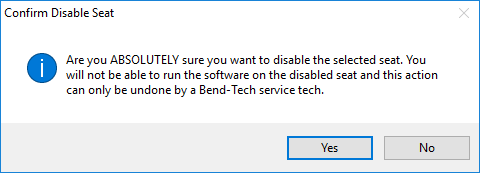
Are You Sure?
- A second window will appear asking for even another confirmation that you'd like to make this change! Only click the YES button if you are sure you'd like to disable the selected seat!


