Dragon A400 Design to Manufacturing Tutorial
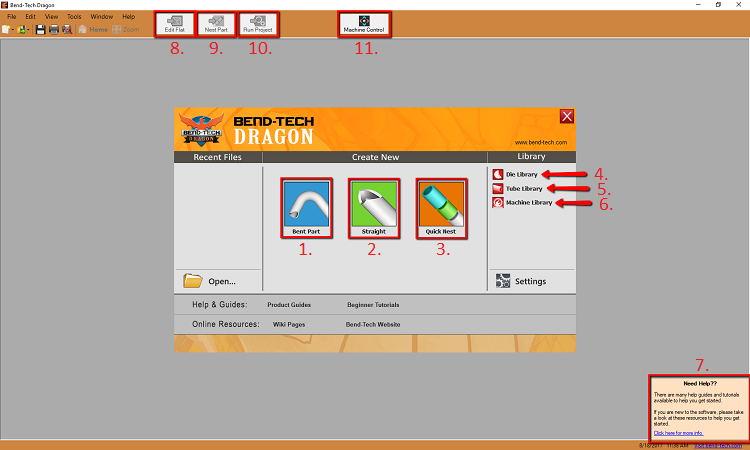
After installing and getting your initial introduction to the Dragon software and machine processes, there are a few things you should come to know about your setup that are not widely known. The machine will shave tons of fabricating time off of your previous methods used in the shop, but we want you well equipped to handle yourself around the software and navigating normal machine actions.
For this reason, we've created this in depth tutorial...
If you'd like to know what each specific area contains, please jump to the corresponding number in this tutorial's table of contents.
1. Bent Part
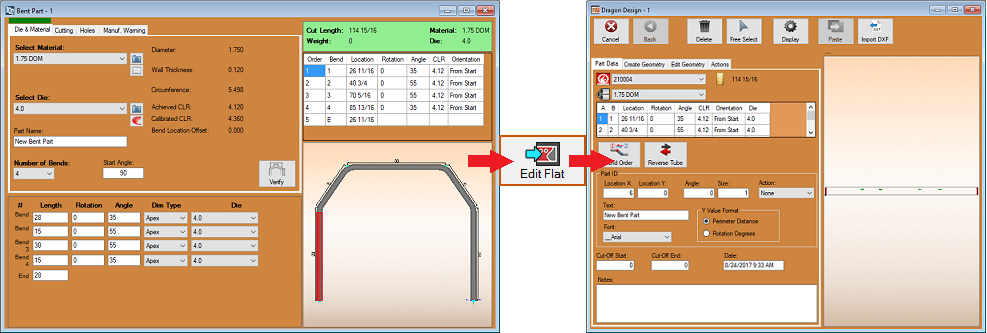
The Bent Part interface is used to create a bent part, applied with your self-created die (pulled from the Die Library), and will allow you to create copes/notches, miters and holes on the part before it can be nested out and sent to the machine for cutting and marking.
A part created in Bent Part can be sent to Edit Flat to edit simple cutting, marking or engraving actions, kerf offset, lead ins and outs, bending order, etc, or it can be sent to Nest Part to be simply nested on a stock length of tubing, adjust action paths, and ultimately to transfer the project to the machine for manufacturing.


