Difference between revisions of "Dragon Machine Library"
(→CAD Settings) |
(→Colors) |
||
| Line 51: | Line 51: | ||
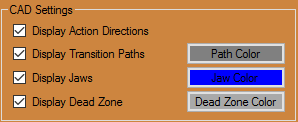
*Click the '''Display Transition Paths''' [[File:Drag_Disp_Transition_Paths2.png]] to indicate the color of the transition paths as they appear in the software. | *Click the '''Display Transition Paths''' [[File:Drag_Disp_Transition_Paths2.png]] to indicate the color of the transition paths as they appear in the software. | ||
| − | *Click the '''Display Jaws''' [[File: | + | *Click the '''Display Jaws''' [[File:Drag_Jaw_Color1.png]] to indicate the color of the chuck jaws as they appear in the software. |
| − | *Click the '''Display Dead Zone''' [[File: | + | *Click the '''Display Dead Zone''' [[File:Drag_Dead_Zone_Color1.png]] to indicate the color of the dead zone as it appears in the software. |
Revision as of 12:23, 10 June 2016
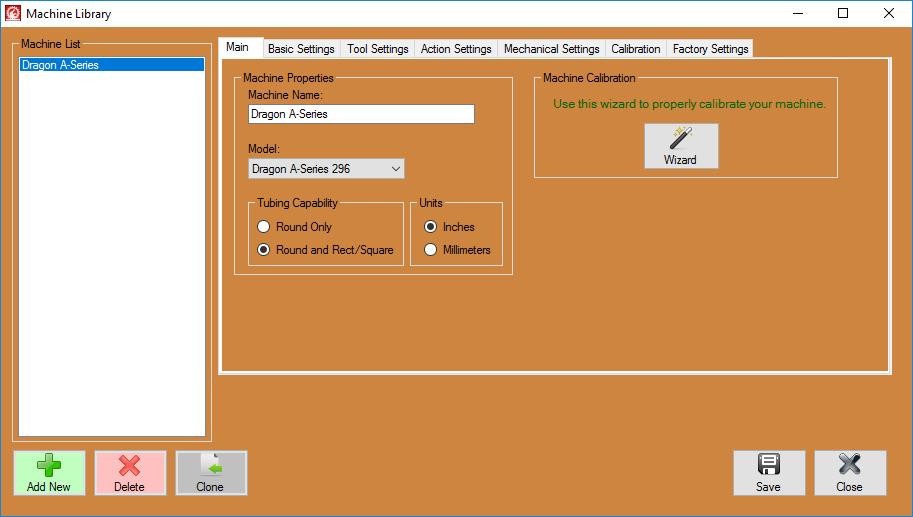
Click on the Machine Library option in the Dragon software to set up a new machine, make changes to your current machine, or select which machine you are using for the next job.
Contents
Machine List
- This list will show your machine(s) labeled in the way you have named them.
Action Buttons
- Delete: Click the Delete
 button only if you're sure you would like to delete the machine and its information from the machine list. A warning window will pop up asking if you're absolutely sure of this action. If you need to consult a Bend-Tech staff member before making such a significant change to your software, please do so by calling our office at 651-257-8715.
- Clone: Click the Clone
 button to clone your machine information. This will create a duplicate of the machine you have selected from the machine list.
- Save: Click the Save
 button to save any changes made to your Dragon machine settings or the list to the left.
Main
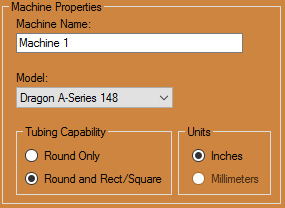
Machine Properties
Machine Name:
- Enter the name of your machine in the Machine Name: field.
Size
- Click on the size of the machine you're using in the Size: section.
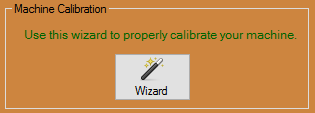
Calibration Help
- Click on the Wizard button in the Calibration Help: section to go through the Dragon Calibration.
CAD Settings
- Display Action Directions: Check the Display Action Directions check box and the software will display direction arrows withing the designer and nesting interfaces. This is checked as a default.
- Trim Part Ends: Check the Trim Part Ends check box and the Dragon machine will be programmed to remove the excess material from coped and mitered end cuts. This is checked as a default.
- Display Transition Paths: Check the Display Transition Paths
 check box and the software will display the path taken by the machine from action to action.
- Display Dead Zone: Check the Display Dead Zone
 checkbox to show the dead zone (or space of tubing that will not reach to the tool changer) in any nesting project.


