Dragon Plunge Holes Tutorial
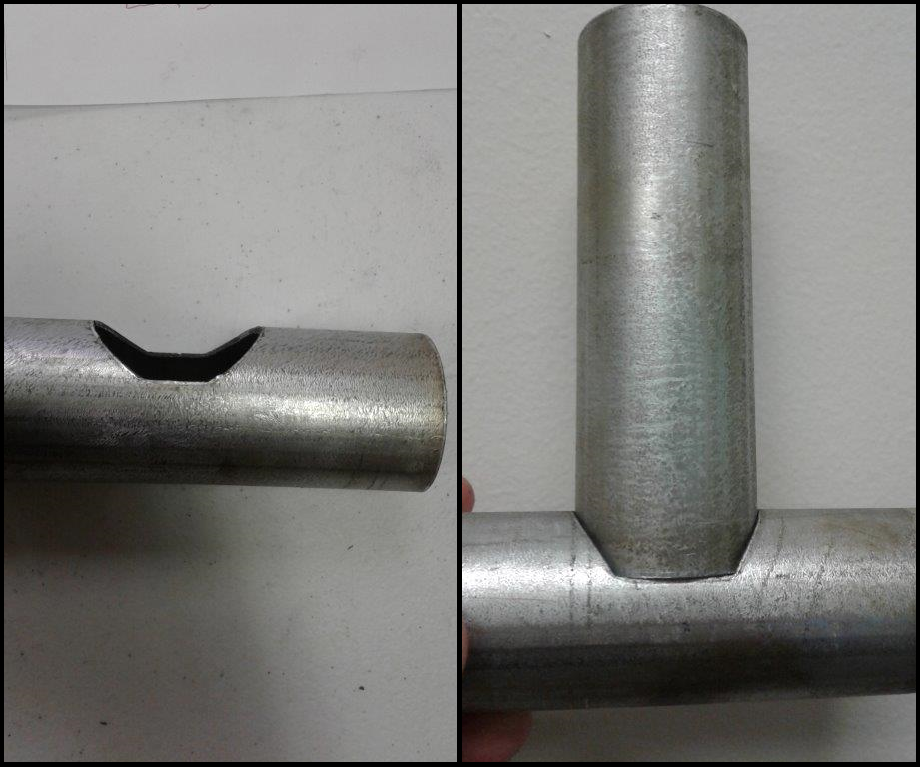
*This tutorial will walk you through creating a single straight part and applying a plunge style hole to it for railing, gate or corral assembly creations.
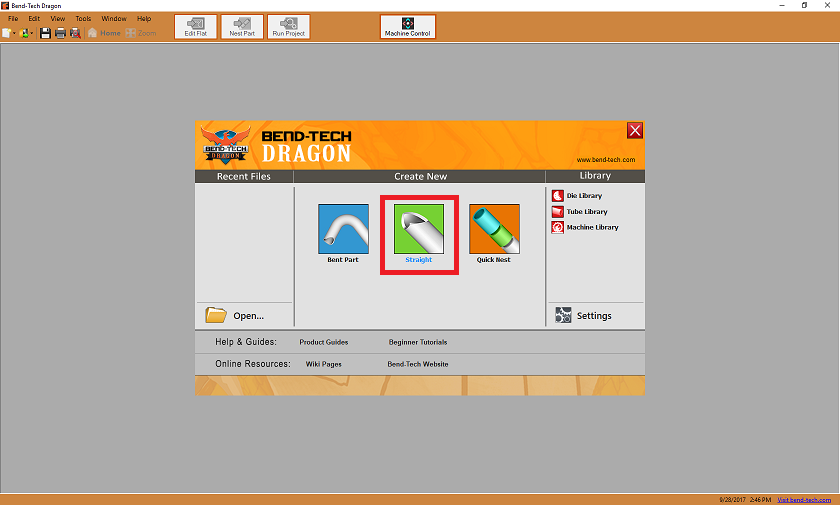
1. First, OPEN the Bend-Tech CAM side of the software to the Task Menu screen as shown in the image below.
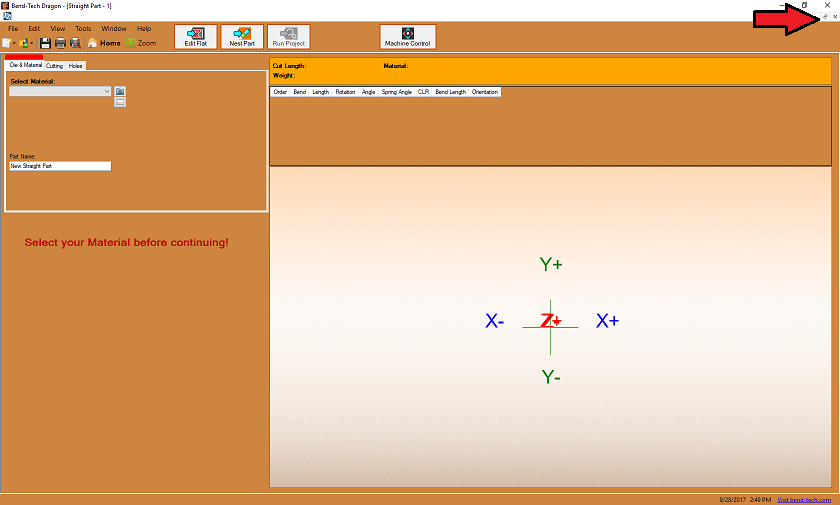
2. Then, select the STRAIGHT option for creating a straight length of tubing and MAXIMIZE the window to full screen.
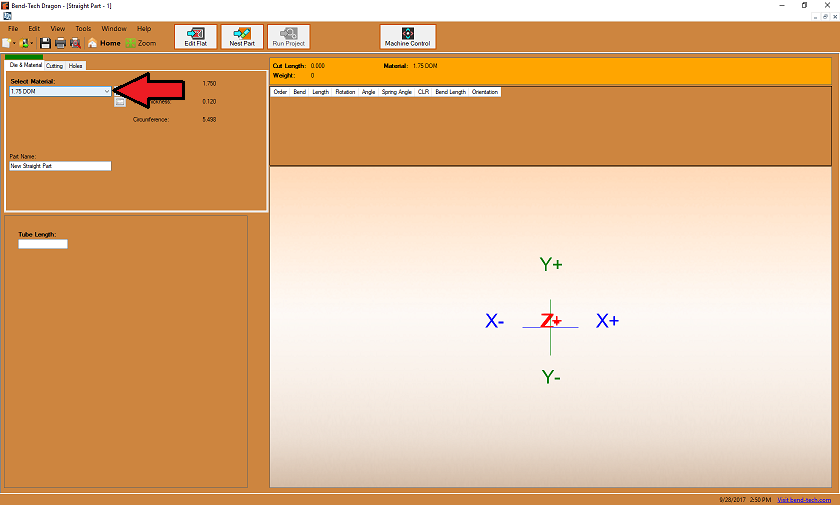
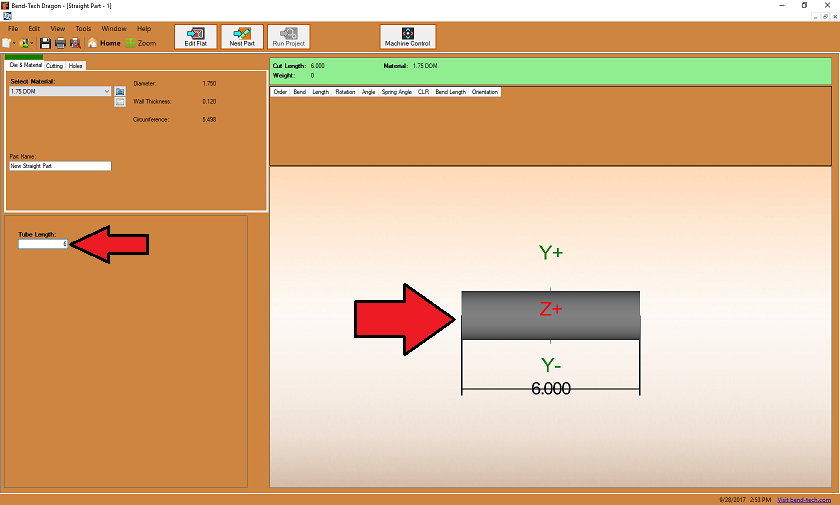
3. Select the default 1.75 DOM tubing from the MATERIAL drop down menu to the upper left. (You may try to finish this tutorial with another diameter tubing, but you will also need to adjust the size of the hole we're making so that it matches).
4. Type 6 in the Tube Length field to the lower left. The 6 inch tube will generate in the display screen to the right. (NOTE: If you work in mms, simply multiple each value that is to be entered by 25.4)
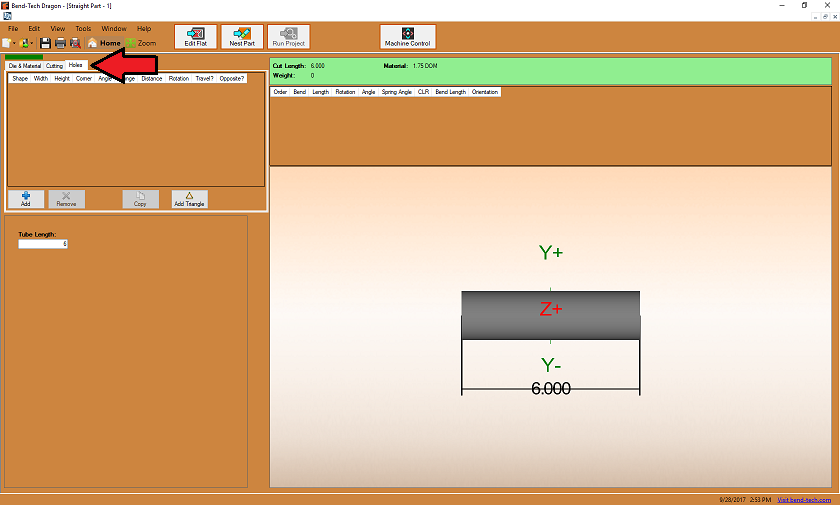
5. Click on the Holes tab near the top of the window to access the hole creation options.
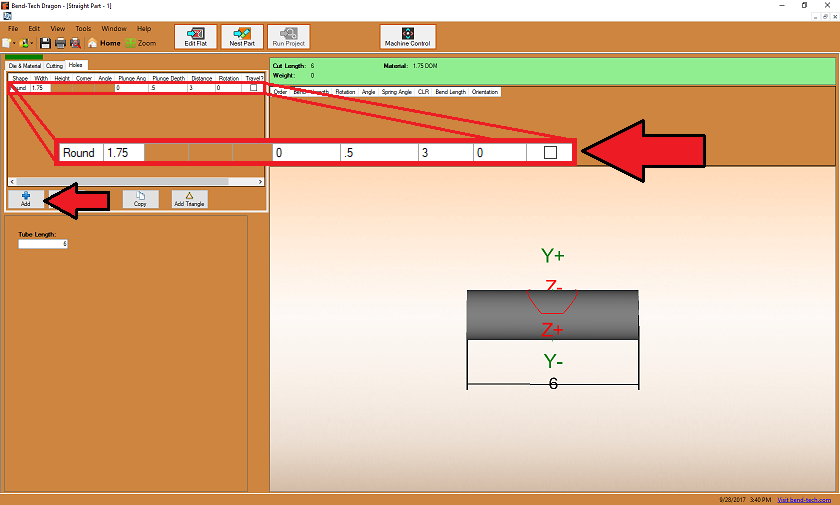
6. Click the Add button below the holes list window and enter the values as shown in the image below. (REMEMBER: If you're using a different OD tubing size, the hole Width should match or be larger than that of the OD). Our Example: Width: 1.75, Plunge Depth: .5, Distance: 3)
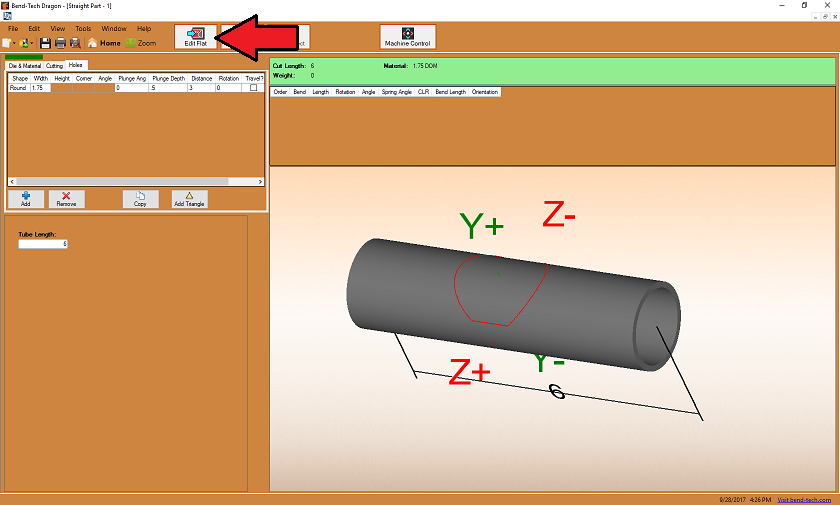
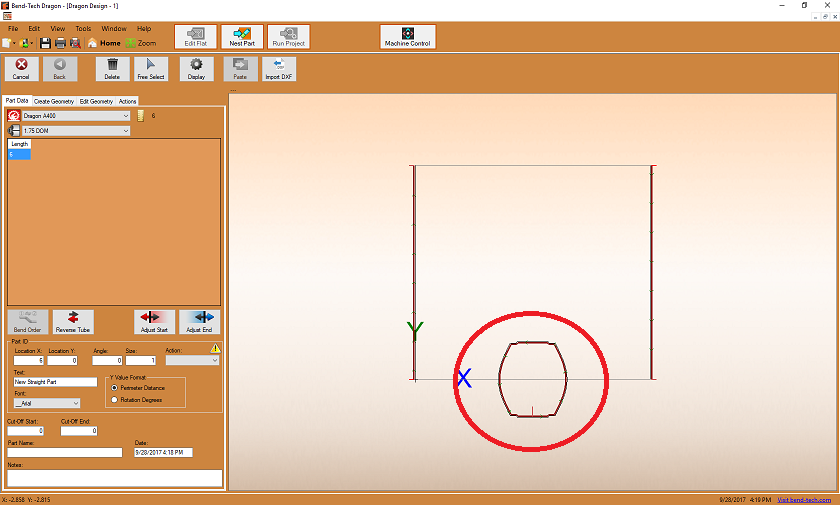
7. Transfer this file to view the flat unwrapped layout by clicking the EDIT FLAT option from the Icon Menu Bar at the top of the screen.
- Here you are able to edit any other geometry on the part by use of manual 2D creation methods, assign cutting, marking and engraving actions and much more. To nest to the part and send it to the Dragon, click on the Nest Part button above.
Thank you for completing our Dragon Plunge Holes Tutorial.
