How to Mark and Run the Material through the Die
If you have an environment where the tubing is held into place with a chuck, most likely you will need the "LRA extension module" and this post won't do anything for you. Please find some definitions in the LRA section of this forum.
For EVERYONE else:
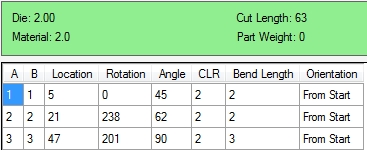
The above results show a "cut length" and the "Location"s where to place the bend lines. Hook your tape measure on one end (Place an "X" on the end you hook) and mark off the bend locations and the cut length.
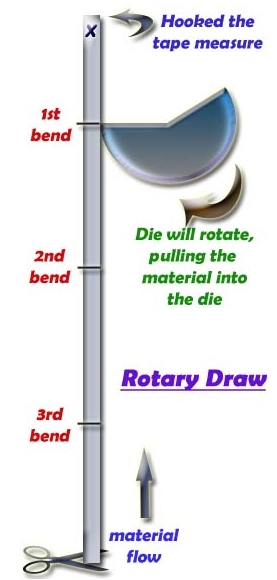
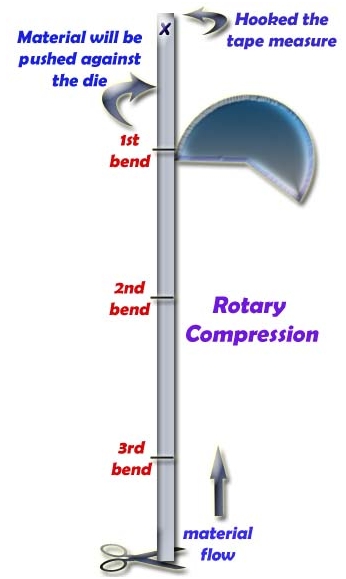
The "X" goes into the die first (see diagrams below). Start at bend 1, complete the bend, and push the material into the bender to bend 2 and so on. Please note you are able to flip the tubing with the "flip" command (EZ-3D, PRO and SE).
Placing the material into the die from the correct end is very important. Determain if you have a "rotary draw" or "rotary compression" bender and follow the diagrams below:
Rotary Draw
Rotary Compression


